Placing tiles on account pages
The full placement flow for account pages: free blocks, static blocks, and enabling the extension in Shopify’s editor.
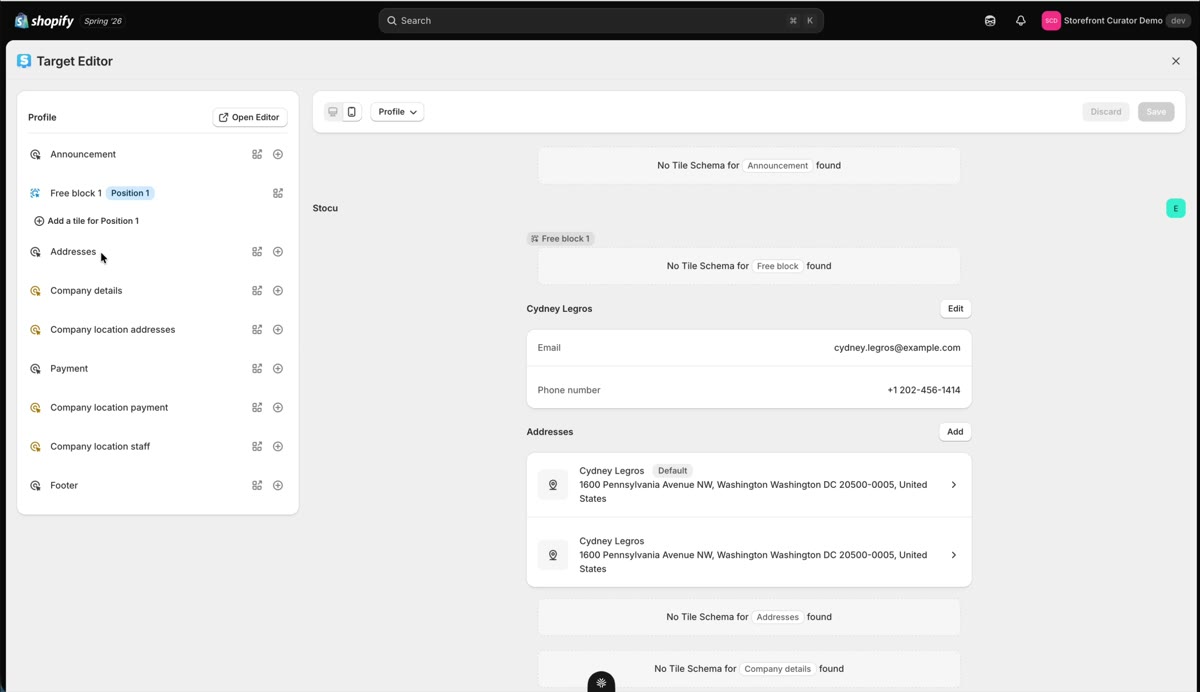
Account pages (orders, order status, and profile) are where StoCu started, and they work on every Shopify plan. The flow is the same for all three.
Add the tile in the Target Editor
Hit Place Tile, pick your surface, and click Add tile on the block slot where you want it. The slot names on the left correspond to positions on the page. Fill a free block and another free block slot appears, so you can stack more than one placement.
Enable the block in Shopify's editor
New placements show Not enabled until the StoCu block exists on that page in Shopify's editor. Click Fix in Shopify, hit Add block, and save. One extension per surface covers all your tiles there; you add the block once per page and drag it wherever you like.
Static blocks
Some spots on a page are static blocks, attached to a specific page area (the addresses area of the profile, for example). Place a tile there and drag the block to the matching area in Shopify's editor; static blocks never need a Position. If you want several tiles pinned to several exact spots, that is Block positions.