Create your first tile
Build your first tile with guided setup: answer a few short questions and watch the tile take shape beside you.
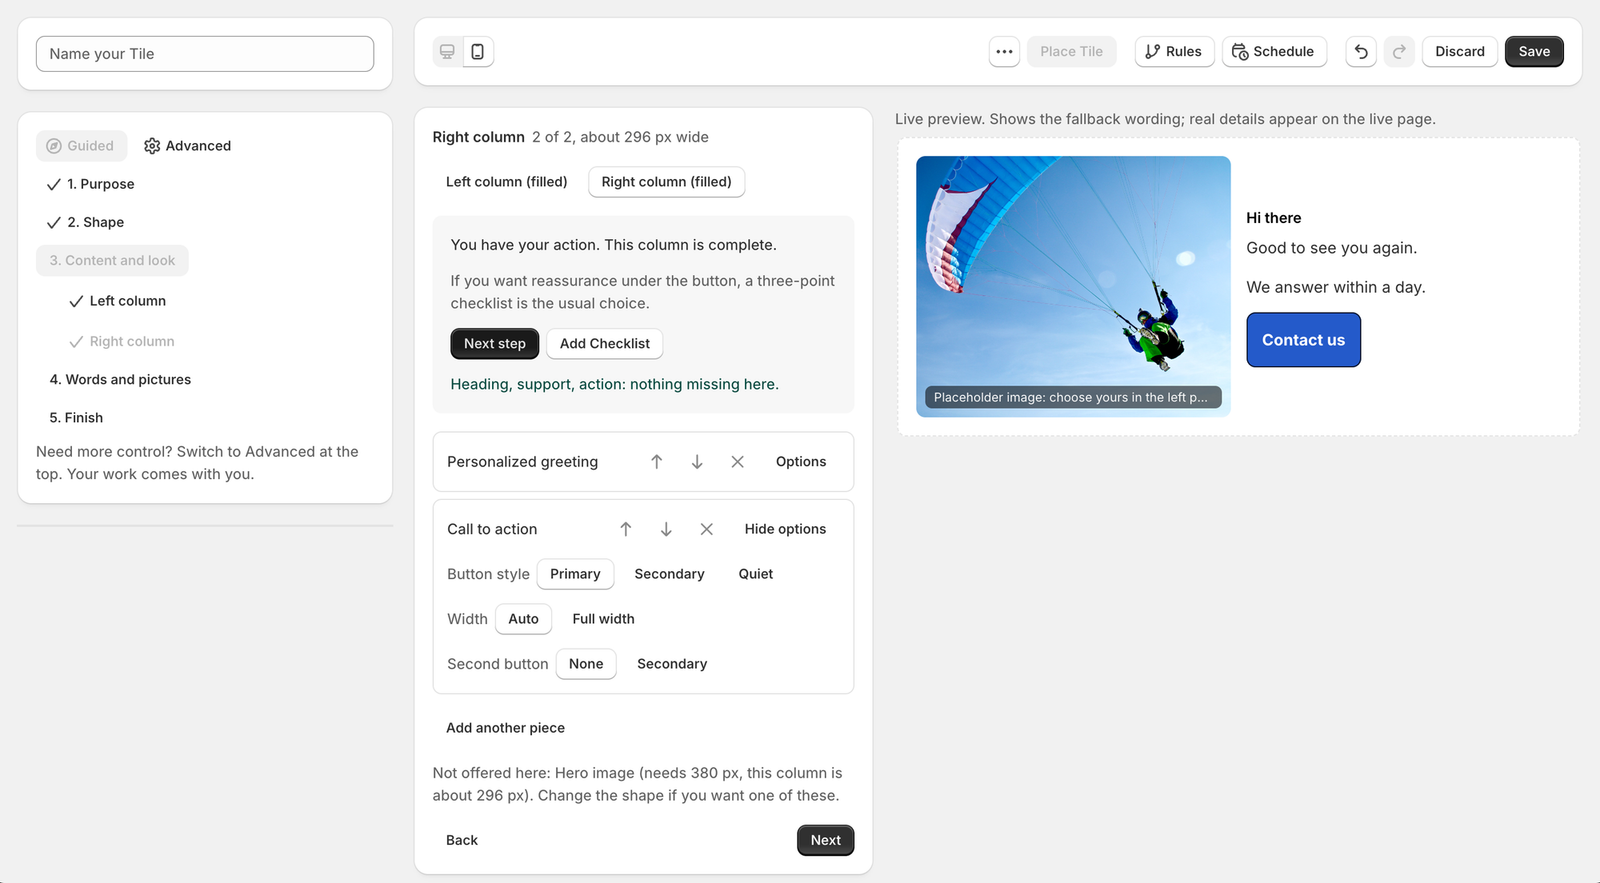
Tiles are the blocks you build and place on your customer account pages. The quickest way to make your first one is guided setup, which asks a few short questions and builds the tile as you answer. This guide makes a welcome banner in about five minutes. If you would rather start from a finished design, templates have their own guide here.
Say what the tile is for
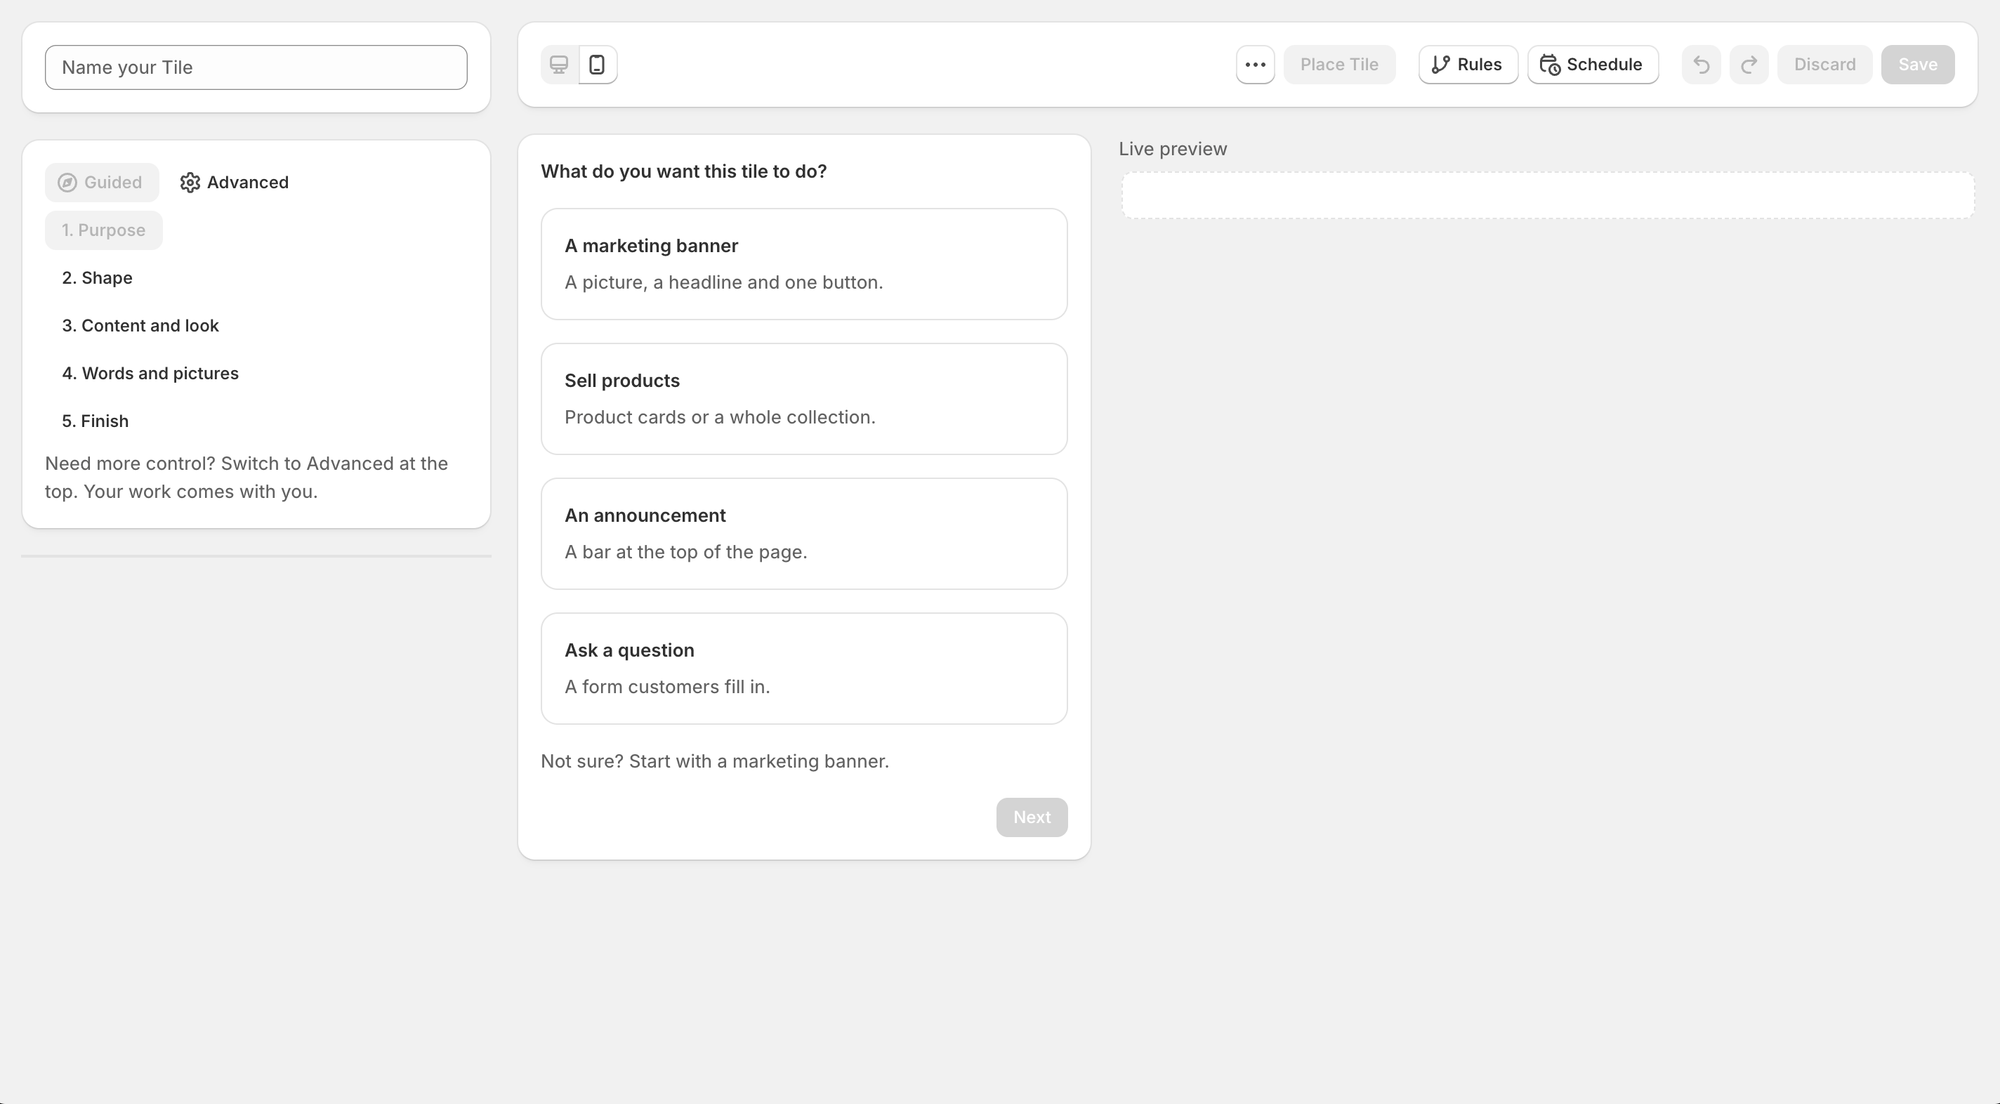
From Home or My Tiles, click Create tile. Tile Studio opens with four boxes. Choose A marketing banner, then Welcome or inform, and click Next. The panel on the right is a live preview of your tile.
Pick a shape
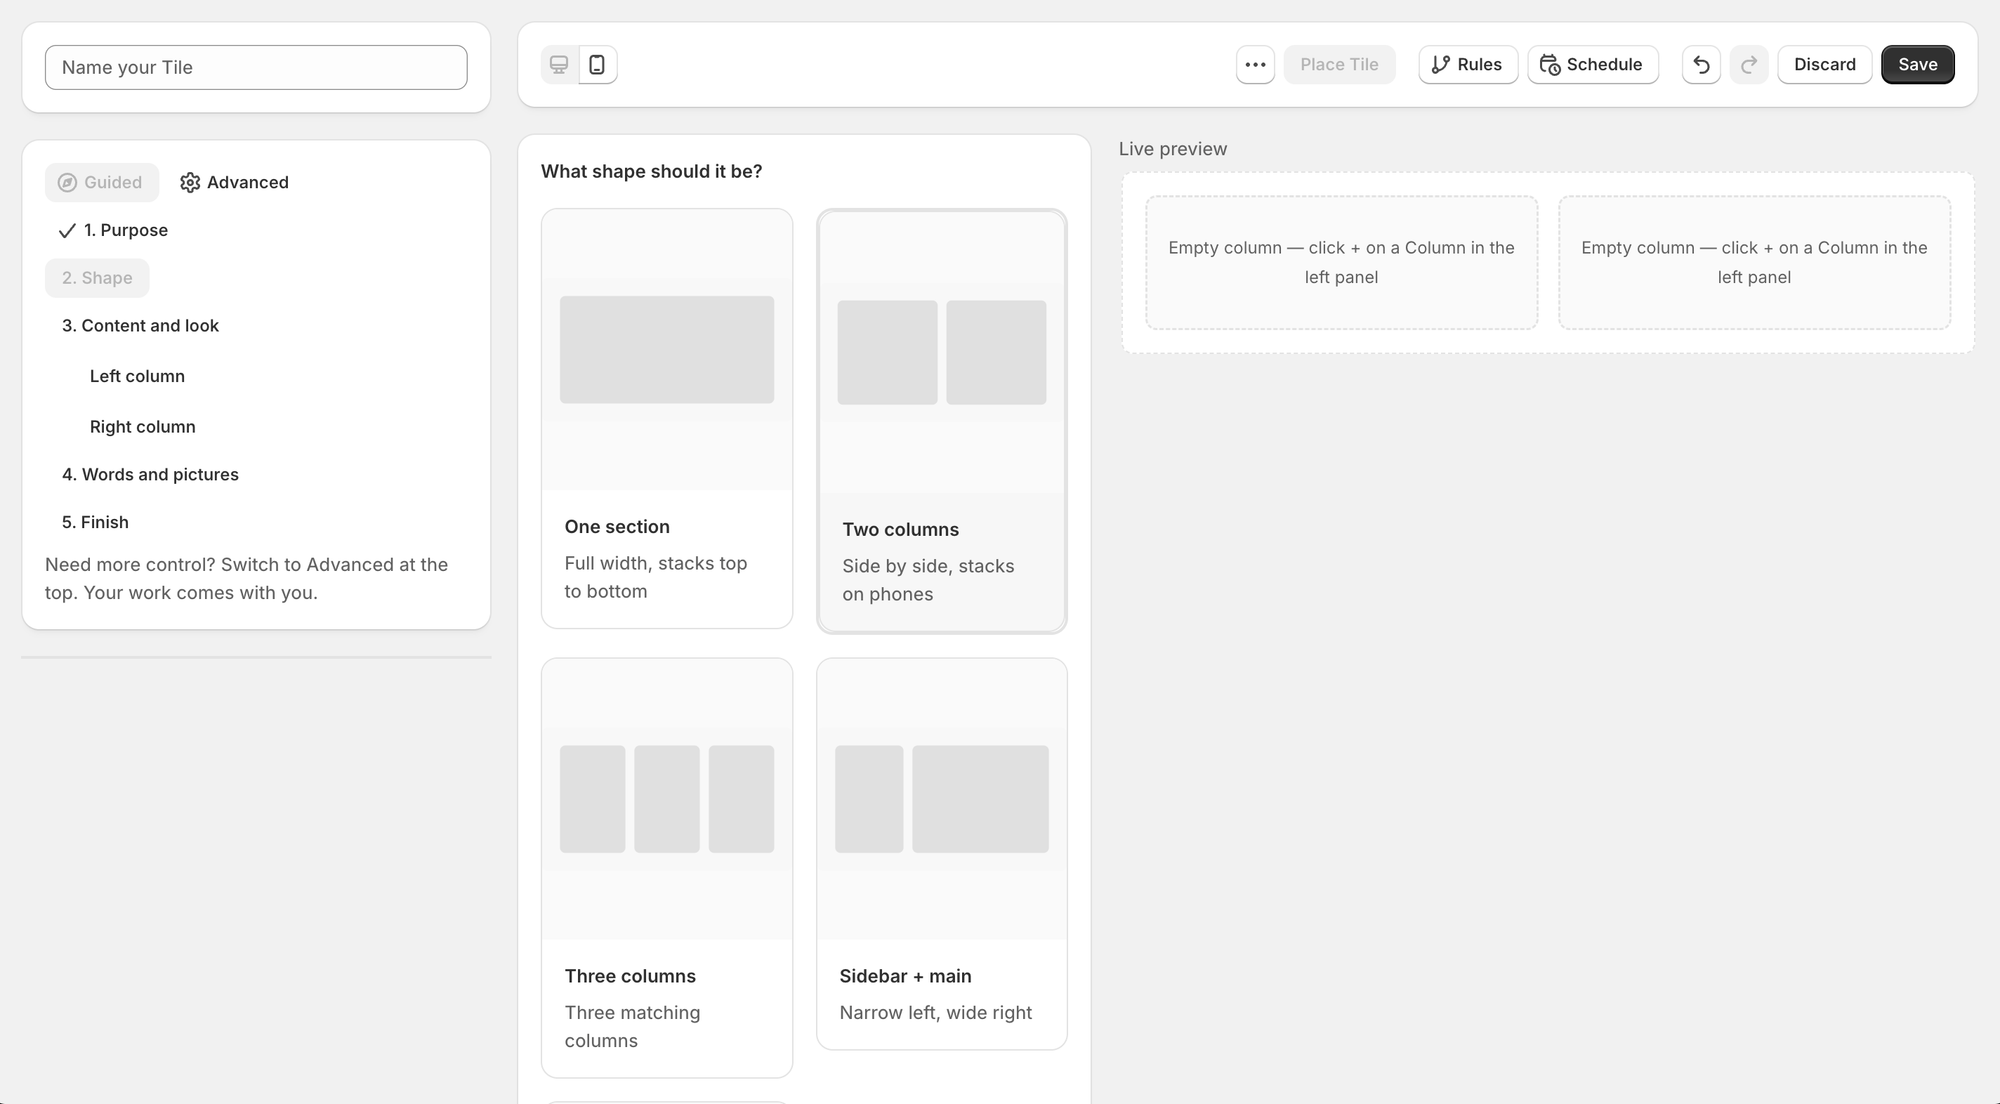
Choose Two columns: a picture on one side and words on the other. On a phone the two stack on top of each other.
Add the content
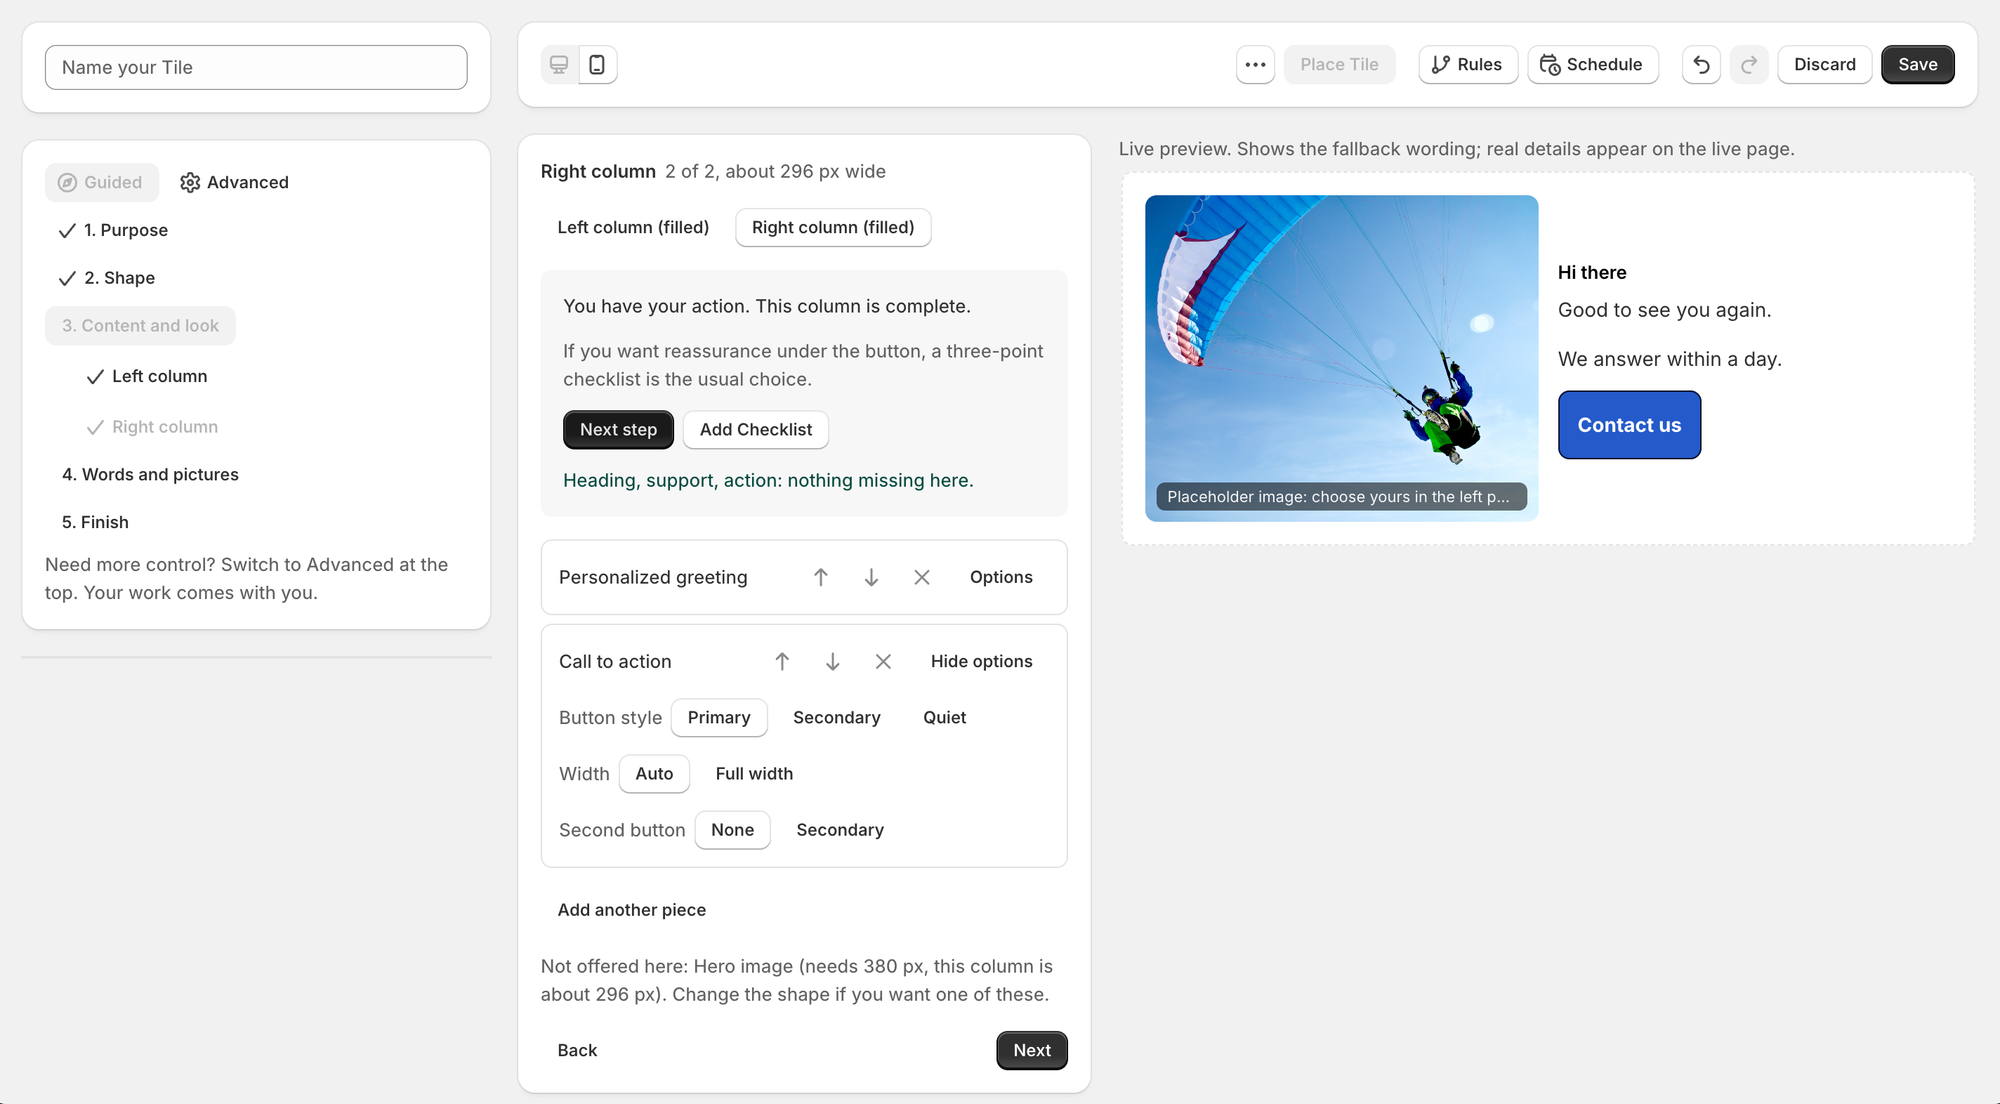
Tile Studio takes one column at a time and suggests what belongs there. Add an Image to the left column. In the right column add a Personalized greeting, then a Call to action. When the column has a heading, a supporting line and a button, Tile Studio tells you nothing is missing.
Make the words yours
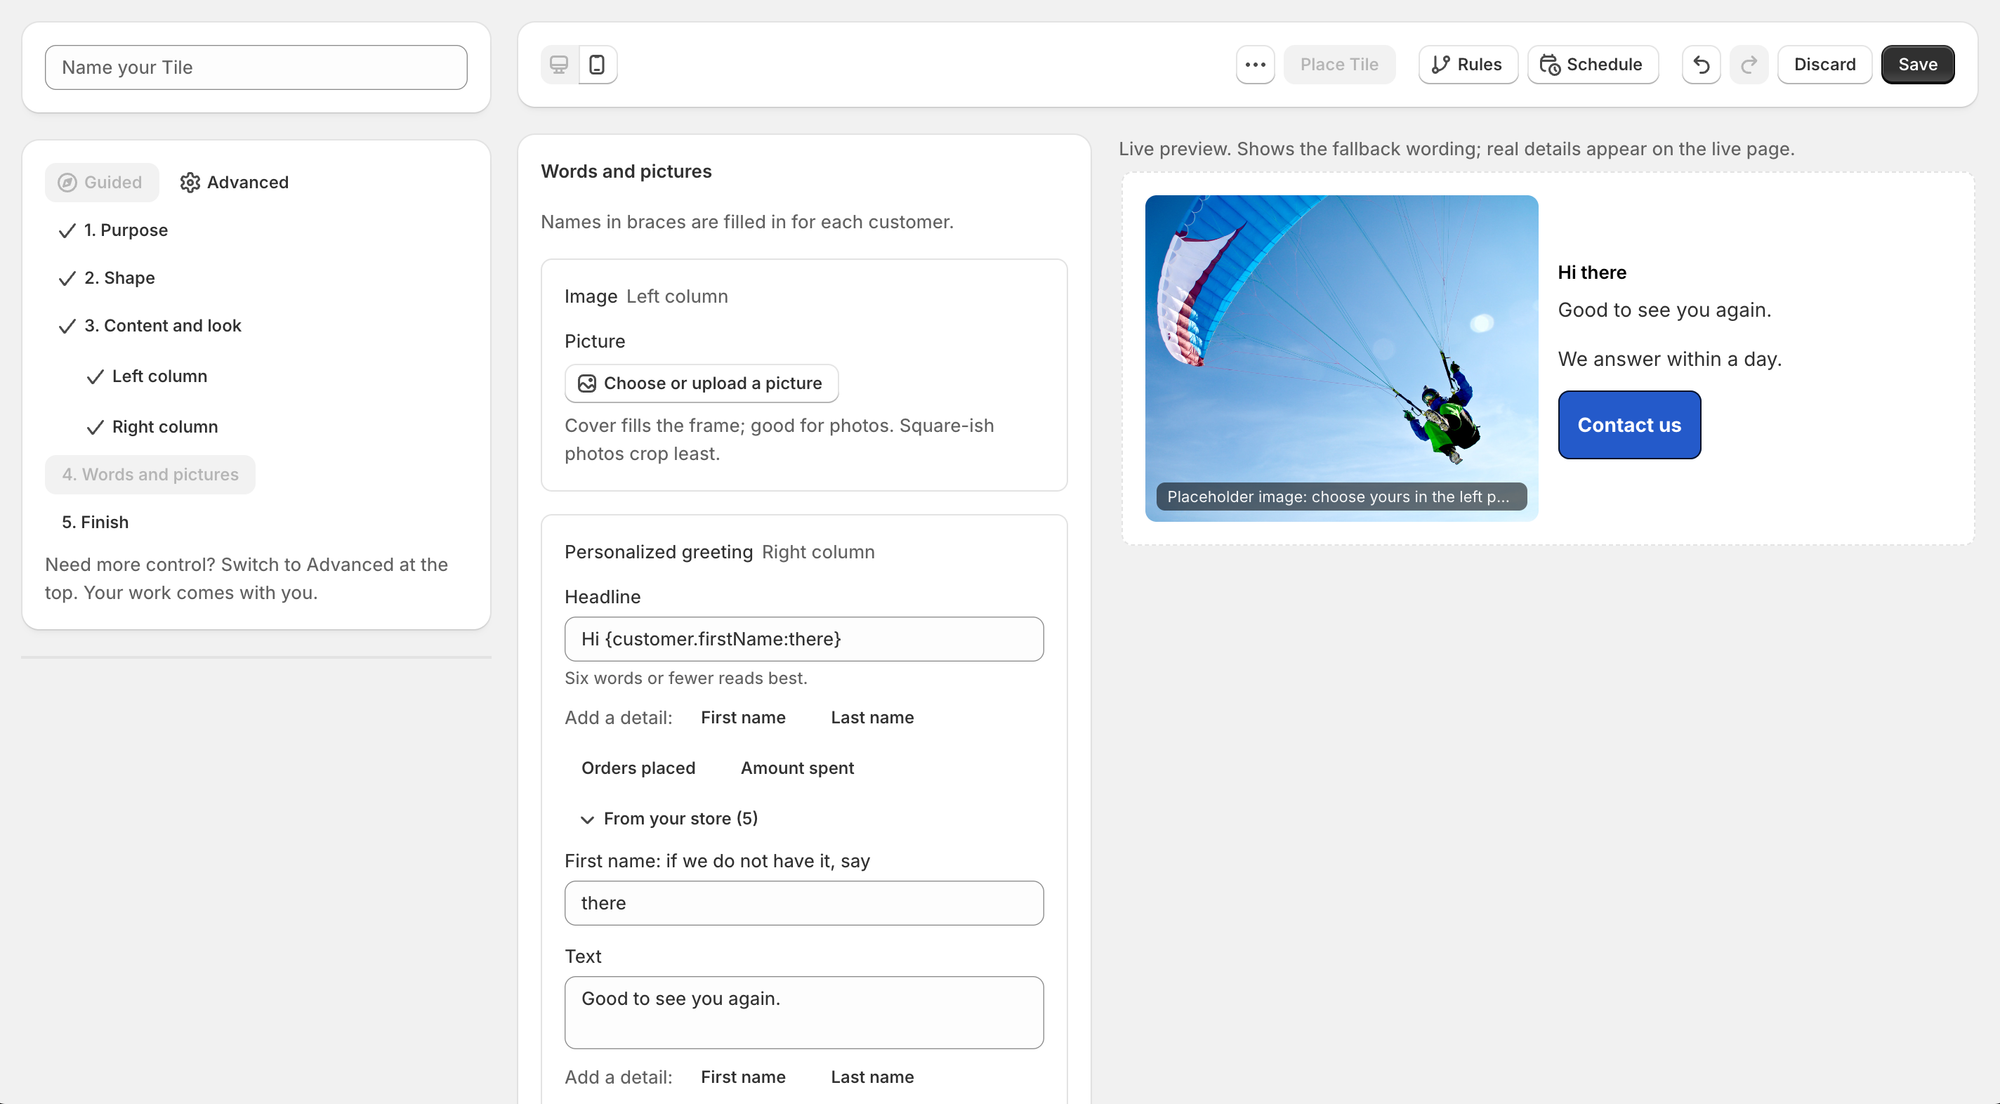
Choose a picture from your Shopify Files or upload one. Then write your own headline, text and button label, and give the button a link. The greeting uses each customer's first name, with a fallback for customers whose name you do not have.
Name it and save
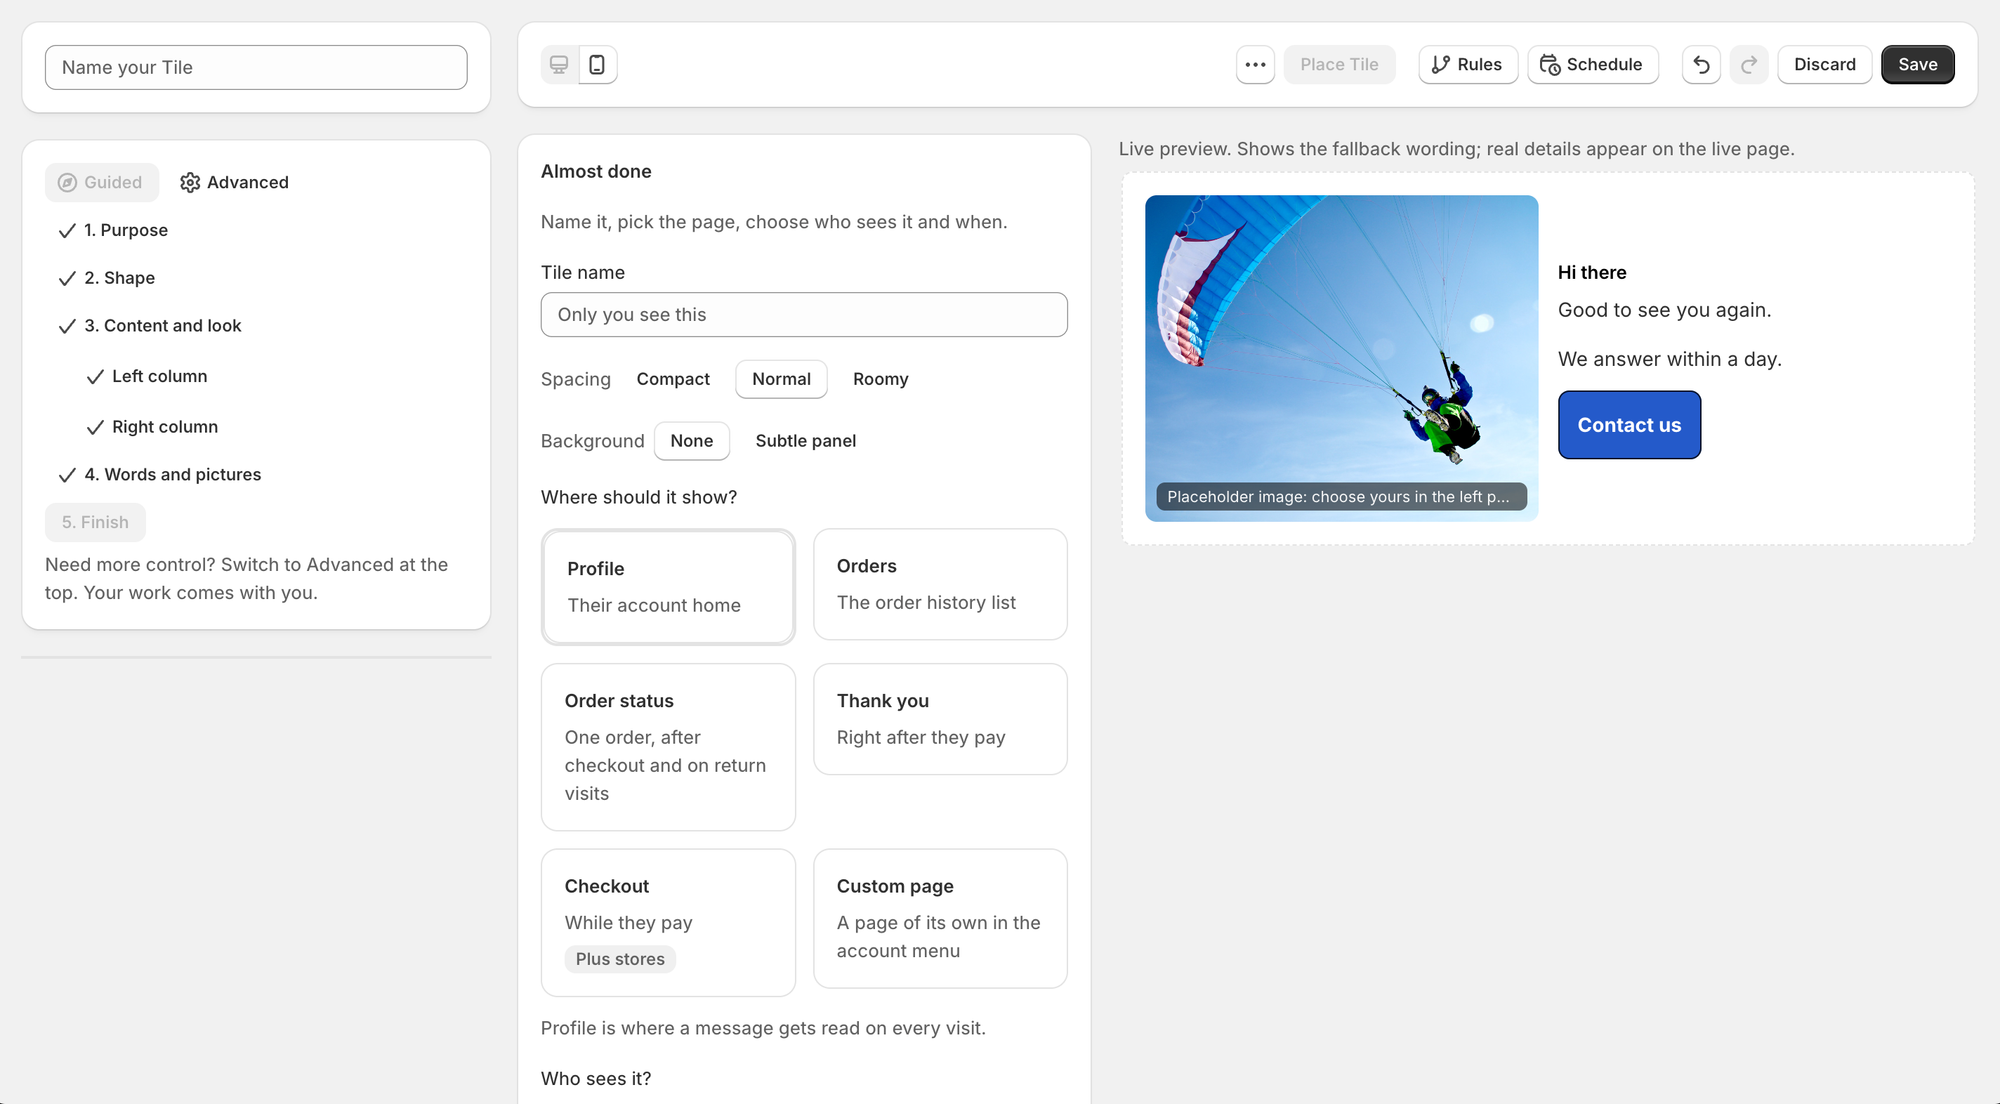
On the last step, give the tile a name and pick the page it is meant for. Profile is a good home for a welcome. Press Save. Saving stores the tile in your library. It appears on your store only after you place it, which is the next guide.
Heads up about Discard: the Discard button reverts to your previous save, not your previous edit. If you have not saved yet, Discard throws away the whole tile. I have done this to myself more than once, so save early.
Want more control? The Advanced button at the top of Tile Studio opens the full editor, and your work comes with you. The guided setup guide covers every step in detail, and the Tile Studio tour covers Advanced.
Next up: Place your tile on an account page.